

In last blog I’ve helped you build an Industry Grade Whatsapp Lead Agent in n8n subsequently I told you that I will write a new blog on how to store leads proffesionally & scalabiliy. since then I’ve got many emails from you guys asking me to explain how to connect n8n with postgres database. Thus, today’s blog is all about postgres, n8n, and how to connect them.
By the end of the blog you will be able to store, read and manage data proffesionally inside your database either from n8n or database dashboard.
Before moving on to main topic i have clarified below why we are using database instead of google Sheets. Hello, I goes by Nickname axiomcompute let’s start this tutorial.
Why use postgres instead of Google Sheet
The reason is simple, Google Sheets are made for simple automations not Industry level projects with other visible reasons like:
- Slow queries with big data
- difficult in scaling
- Limited automation logic
- complicated structure for complex workflow
Needless to say Postgres solves this problems, by providing
- Structured data
- Far better automation architecure
- Industry grade relaibility offcourse
- Faster queries (structured resquest data to fetch information or request data)
There are many companies which provides hosted postgres databases with generous features in free tier. So for this blog Im going to use Neon PostgreSQL Database which I personally like and use often.
Neon Database: Explained
A serverless postgres platform, made for easy management.
It provides:
- Instant PostgreSQL databases
- Scales automatically
- Built-in connection pooling
- Generous Free tier for beginners
Step 1 — Create a Neon Database
Lets create the datatbase first, follow the steps given below:
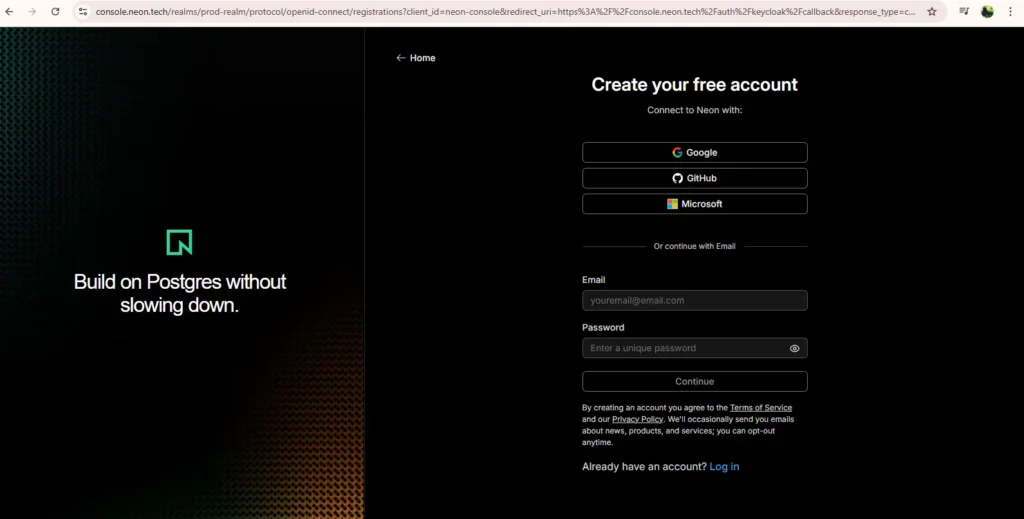
Go to the official Neon website
Sign up for free account
After sign up you will get this screen shown below:
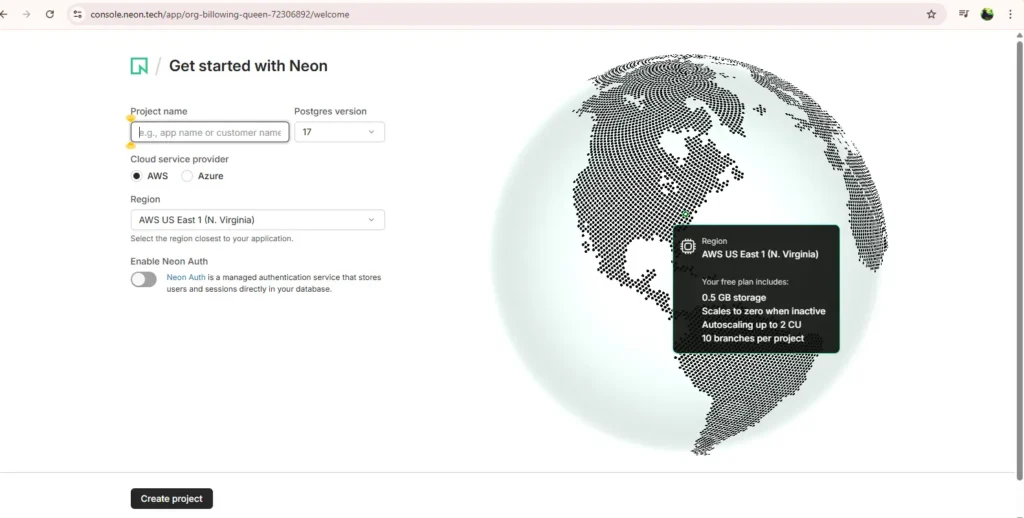
Create a new project name, leave everything default.
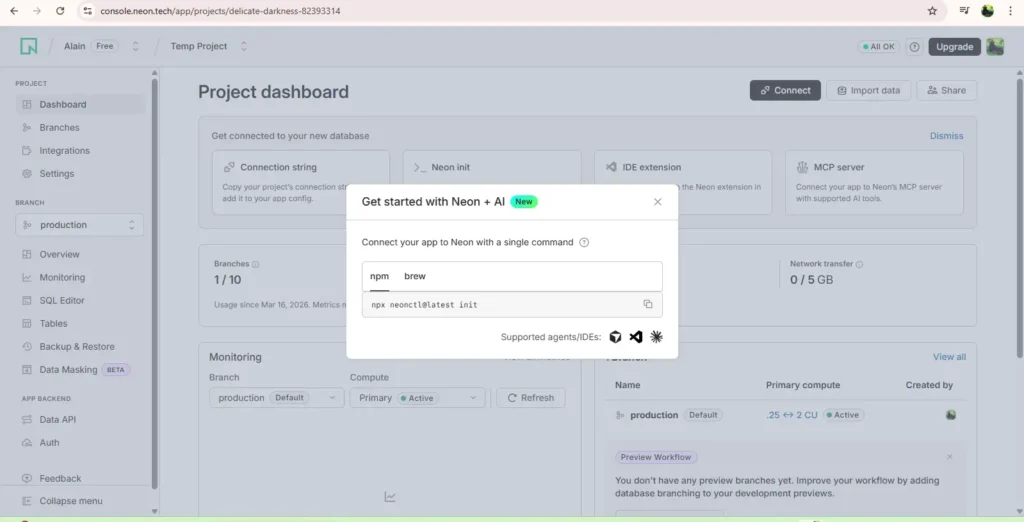
The screen above is what you’ll get after creating project, just close it.
At this point a default database for owner ‘neonowner’ has been created namely “neondb”.
You can access that database by clicking on “Tables” option.
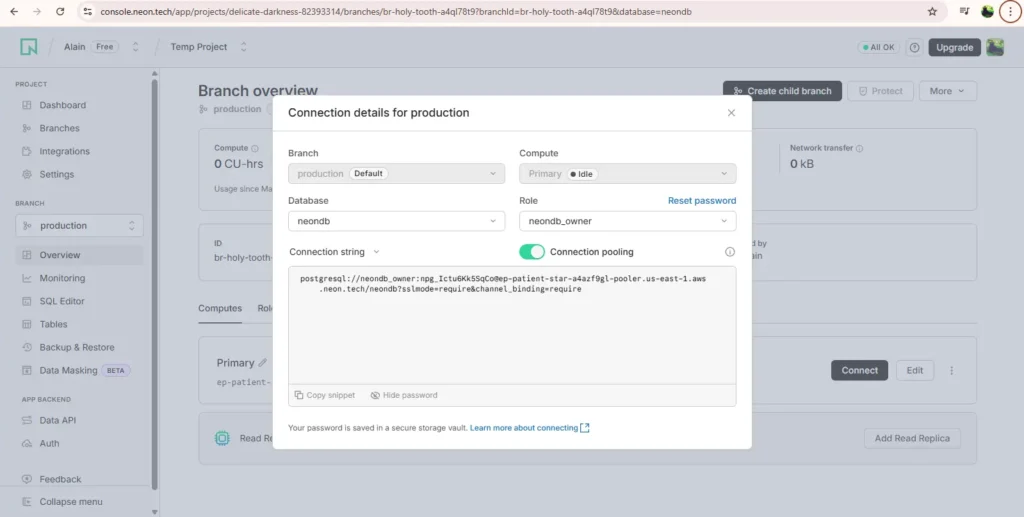
when you click on the overview inside production section then click on ‘connect’ inside the right-hand side Computes section you will see the interface like above, where you can see a ‘connection string’ you just have to copy it. we will talk in next section about what to do with this copied string.
Example:-
postgresql://neondb_owner:npg_Ictu6Kk5SrCo@ep-patient-star-a4rzf9gl-pooler.us-east-1.aws.neon.tech/neondb?sslmode=require&channel_binding=requireStep 2 — Create a table in Postgres
Now that we have a database created in PostgreSQL which is empty as of now so we will create a table (Generally the data inside the Relational database gets categorized in rows & column inside the Tables).
Let’s run this example code inside SQL Editor. As you can see there is a Boiler Plate Code of SQL you should clear all those by pressing Ctrl+A then Backspace.
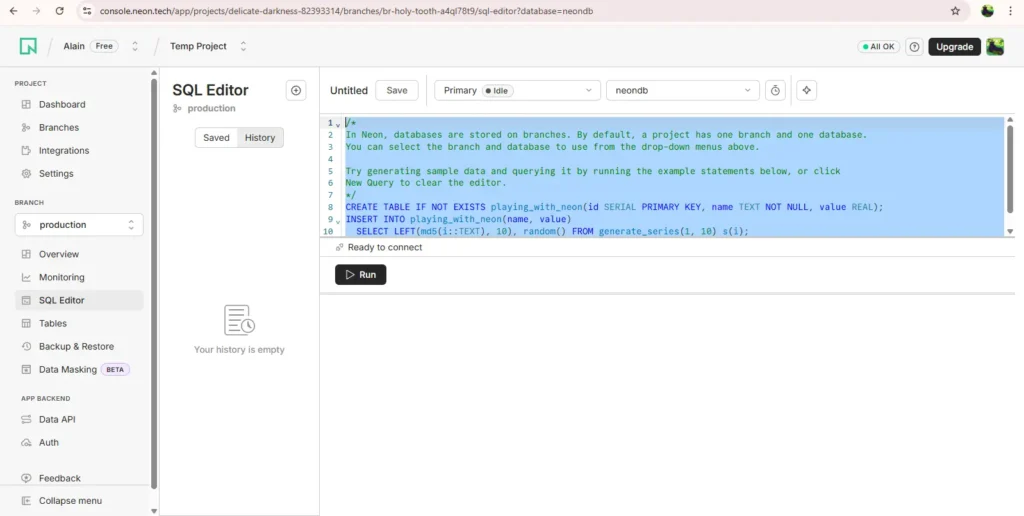
Then paste this code from below inside it and Press the ‘RUN’ button.
CREATE TABLE leads (
id SERIAL PRIMARY KEY,
name TEXT,
phone TEXT,
email TEXT,
created_at TIMESTAMP DEFAULT CURRENT_TIMESTAMP
);
Needless to say this will create a simple table to store leads.
Note:- This table is not suitable for previously built industrial grade WhatsApp lead agent.
Step 3 — Open n8n & Add PostgrSQL Node
you can see from your n8n credentials dashboard.
create new PostgreSQL database from ‘create credentials’ section. Here we need to fill in the database details from neon dashboard. you have these blank boxes to fill Host, Database, User, Password, Port. Now look at the example Neon connection string i have provided,
postgresql://neondb_owner:npg_Ictu6Kk5SrCo@ep-patient-star-a4rzf9gl-pooler.us-east-1.aws.neon.tech/neondb?sslmode=require&channel_binding=requireWe have to figure out the configurations from this string,
Host → ep-patient-star-a4rzf9gl-pooler.us-east-1.aws.neon.tech
Database → neondb
User → neondb_owner
Password → npg_Ictu6Kk5SrCo
Port → 5432 (Default)
Name → PostgreSQL Database 1 (Choose Random Name)
Test the connection after entering these values, you will get a success status, It simply means that your database is now connected to n8n.
Step 5 — Insert data Into the Database
Now let’s test writing data into our database.
open the WhatsApp lead agent workflow and select a database node from left node pane.
- Credentials to connect with → Choose the database you created named “PostgreSQL Database 1”.
- Operation → Insert
- Table → leads
Step 6 — Retrieve Data from the Database
This is also called CRUD (stands for Create, Read, Update, and Delete) Operations.
Change the PostgreSQL node Operation to:
‘Get’ with relevent ‘Table Name’
Conclusion
Common Beginner Mistakes
Incorrect database credentials:- most peole gets confused in host & username.
Forgetting SSL:- Neon Database requires connection over SSL so make sure to keep this option as “require” in n8n credentials creation.
This was a simple beginners tutorial to connect database to n8n which acts as an foundation to advance further in tech career whether you are a beginner or intermediate in no-code automation. I’ve seen many guys rely on spreadsheets which give them headache in later stages of business and it becomes to late to switch now, reason — wrong choice in intial development phase & data being loaded in spreadsheets.
That’s the reason i reminded you about to use database often instead Google Sheets.
See you in next blog!